
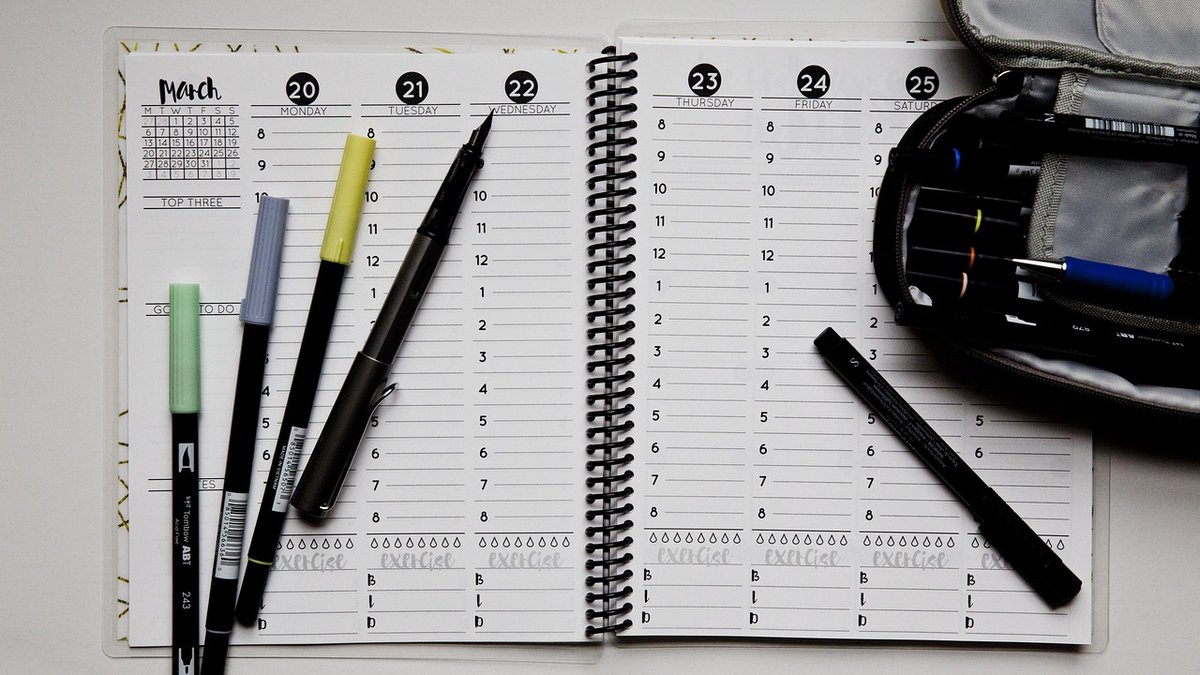
You sit in a lecture, pen flying across the page, capturing every word. Later, you open your notebook and see a dense wall of sentences. Finding a specific point means rereading everything. There are no obvious hooks for revision, and gaps in your understanding stay hidden until the exam. The Cornell Method solves this by giving your page a structure that forces clarity from the moment you start writing. It divides the page into three distinct zones: a narrow cue column, a wide notes column, and a summary strip at the bottom. This simple layout turns passive transcription into an active review tool.
Before the lecture begins, spend thirty seconds ruling up your page. You can use a ruler and pen, or a pre-printed Cornell notebook if you prefer. The standard layout works on A4 or a large A5 page. Draw a horizontal line about five centimetres from the bottom. Then draw a vertical line about six centimetres from the left edge, stopping at the horizontal line. You now have three sections:
If you are using a bound notebook, dedicate the first page to a key of abbreviations. Common ones: w/ for with, eg for for example, → for leads to, ≠ for is not. This keeps your notes column fast and legible.
In the wide right-hand column, your job is to record ideas, not sentences. Write in short phrases, use bullet points, and indent to show relationships. If the lecturer repeats a definition, write it once and add DEF in the margin. If they give an example, note it with EX and a couple of words. Skip filler words like the, a, and is where meaning survives. Leave a blank line between major topics – you will thank yourself later. Do not try to make the notes beautiful during the lecture. Speed and accuracy matter more than neatness. If you miss something, write ? and move on. You can fill the gap from a recording or a friend's notes afterwards.
Within a day of the lecture, return to the left-hand cue column. This is where the Cornell Method earns its reputation. For each block of notes, write a question or a keyword that captures the core idea. For example, if your notes say Photosynthesis – light-dependent reactions – thylakoid membrane – produces ATP and NADPH, your cue might be Where do light-dependent reactions occur and what do they produce? Or simply Light-dependent reactions: location + products. The goal is to create prompts that let you cover the notes column and test yourself. Write cues in your own words – copying the lecturer's phrasing defeats the purpose. Use different coloured pens if that helps you distinguish cues from notes, but keep it functional rather than artistic. A single colour for cues and a single colour for notes is often the most efficient.
The bottom strip is not a place to rewrite your notes. It is a place to force synthesis. After writing your cues, close the notebook and ask: what was the single most important point of this lecture? Then write two or three sentences that answer that question. If you cannot, you have found a gap. That gap is your study priority. A good summary might read: Light-dependent reactions split water, release oxygen, and produce ATP and NADPH in the thylakoid membrane. These products then power the Calvin cycle. Notice how the summary connects to the next lecture's topic. That connection is often the difference between memorising facts and understanding a subject. Keep summaries to under fifty words. Brevity forces precision.
The Cornell Method is not just for students. It works for meetings, project planning, and even personal journaling. A few practical adjustments make it stick:
Start with one lecture or one meeting. Rule up the page, capture notes in the wide column, add cues afterwards, and write a short summary. You will quickly see where your understanding is solid and where it is thin. That clarity is the real productivity gain – not prettier notes, but faster review and fewer surprises when it counts.

Hi, my name is Anthony kuber. I am artist and fashion designer.
I love to travel and writing blogging.
Your email address will not be published. Required fields are marked *
Software Developer & Writer
Hey, I'm Diva, a developer and writer blending code and creativity. I'm driven by a deep curiosity and a relentless pursuit of excellence. Join me as I craft digital solutions and captivating stories.


